

My First Thought
When I thought of participating in this hackathon I jumped to my tech master youtube and to find out about Planetscale. Honestly, I couldn't understand any tutorial at that time and I thought it is a complicated DB to use. Although I am not much experienced in Next.js I decided to move with Next as I realized that it really syncs well with Planetscale and learning was my main motive. In this article, you will find out how a newbie can learn how to get into planet-scale, its docs, and resources, and how I built my Next.js app with Planetscale and Prisma in 5 simple steps.
Step 1: planet-scale account
- One can simply signup or create an account on planet-scale using Gmail, Github accounts, or using other options. I preferred Github as you know it's like my fav bicycle to roam around.
Step 2: creating a database on planet-scale
Creating a database is very simple. You need to select your nearest region, give your database name, and boom the database is ready. you don't need to remember any query to create your DB. you can easily do it without any resources still if you want to refer you can check this planet-scale doc- urlshortner-gamma-six.vercel.app/pscalenext
 source- planetscale.com/docs/tutorials/connect-next..
- give a valid name to your database because only the first DB is free on planetscale ;)
Step-3: Installing the planet-scale CLI
This is an important as well as an interesting step. I have started trying the planet-scale commands to connect my planet-scale to DB to my app without installing the CLI like a dolt. After wasting so many times I finally installed the CLI from this repo-(github.com/planetscale/cli) and planetscale commands started working. It was a relief and so good feeling that finally, I have Pscale in my system now.
Once you installed the CLI do the authentication and connection by these commands
                           pscale auth login

                           pscale db connect
This small command will authenticate your system and show its magic. Now you can use your local terminal as a planet-scale CLI. Now one more command and you can connect to to your planetscale DB.
pscale connect YOUR-DB-NAME-HERE main --port 3309
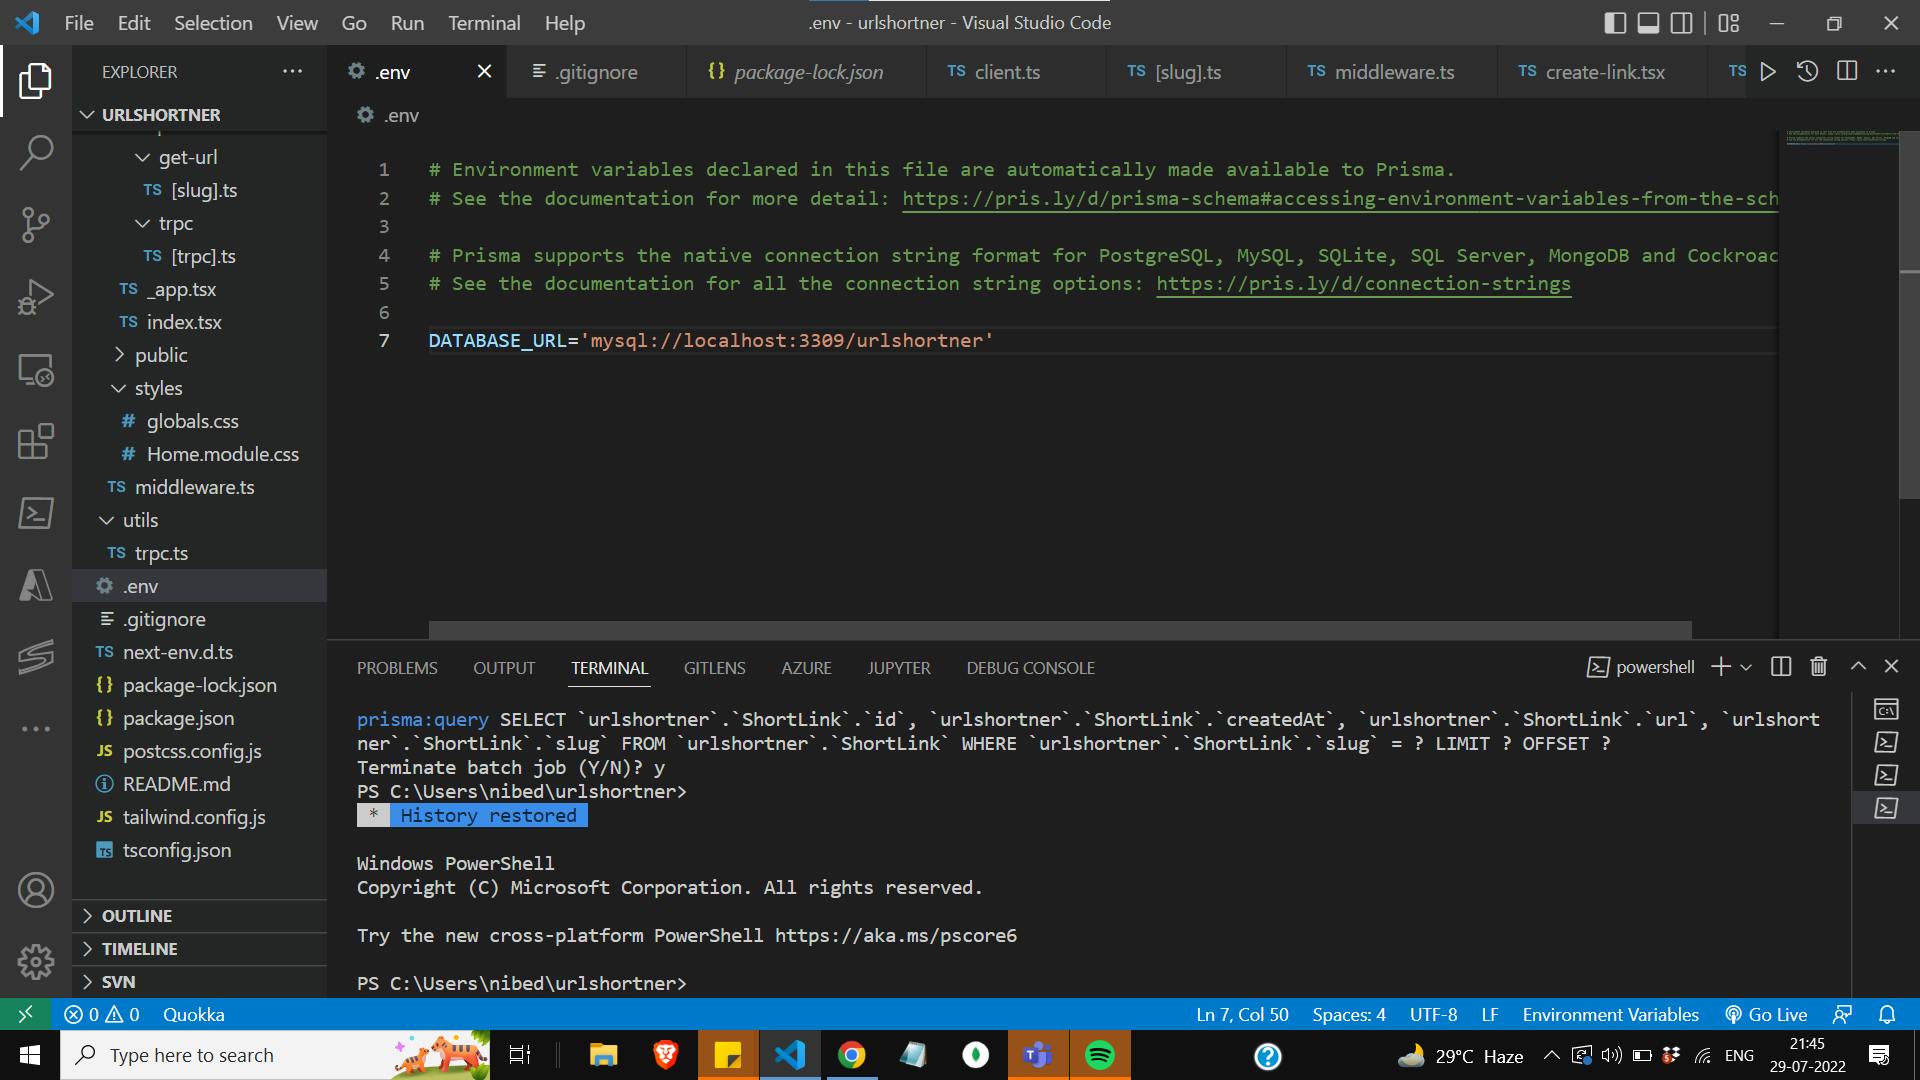
- This magic command will not work if don't set the DATABASE_URL in your project. So don't forget to do that. I am using a local port during building and testing of the project.
Wait is this enough!!! Nah main bridge is still not built. So let's move to the next step.
Step 4 :- Integrating planetscale with Prisma Client
Of all the available sources I found this doc is the most simple and easy-to-learn page for Prisma urlshortner-gamma-six.vercel.app/prisma
I have installed the Prisma client and the Prisma query as per the doc. You can install the Prisma, Prisma client using this easy command
                            npm install prisma --save-dev

                            npm install @prisma/client
Once you have installed Prisma you can define your Database URL in your Prisma Schema. You can follow the mentioned doc to set the Schema. Now you just need to sync your DB with Prisma with the below command
npx prima db pushGreat you are done with the setup of Planetscale DB with Prisma and you also have the pscale CLI. Congo your base of the house is Ready.
About my Project URL Shortner:
My web app is very simple yet useful. We all work with tons of websites, docs, webapps in short tons of urls daily, and surely we waste much time finding the sites because we can't remember the whole URL although we are visiting them again and again. But what if I say you can give a name to your important sites just need to remember that name instead of the whole URL.
Example
- Above in the article, I have mentioned a github repo link to install the planetscale CLI. I don't want to search for it every time I need it so I will name it with a relatable word I can remember. so I named it pcli and created the link.
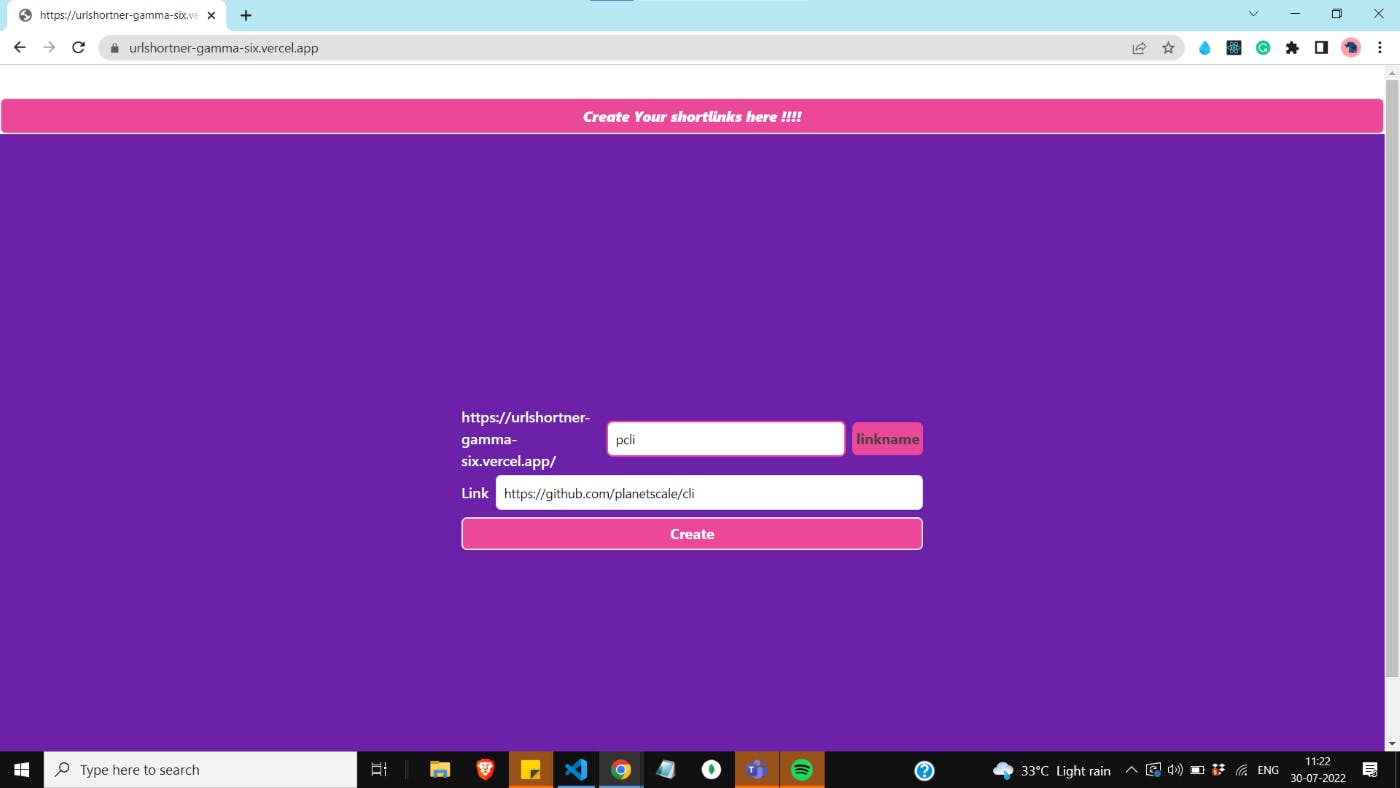 Giving relatable name pcli for this repo URL
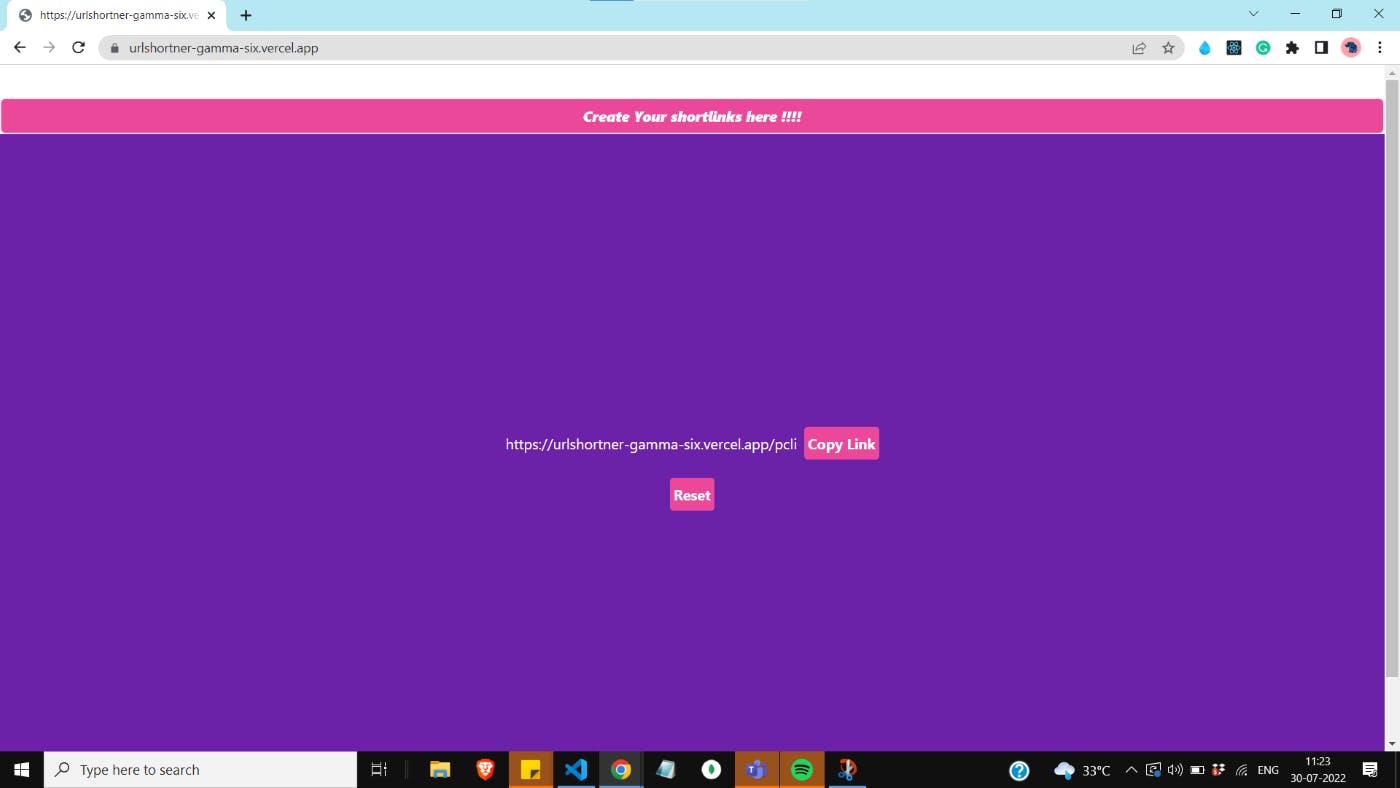
Shorten URL is ready
- My app URL urlshortner-gamma-six.vercel.app is same for the all the URLs I create. I just need to put the name I set. so if I put pcli after this urlshortner-gamma-six.vercel.app it will redirect to the GitHub repo site. Isn't it's amazing :) Yes it is have you noticed all the links used in this articles are not the original URLs these are the shorten links I have created for every doc :}
Code Walkthrough
- This is a Next.js - TypeScript project. Though I am not much experienced in this tech I enjoyed its building.
- Index.tsx is the starting point of the code it will go to the component create-link which has the form to display the website

middleware is used remember to create it on the correct folder path that directly inside src folder, not in the pages folder
For the styling purpose tailwind CSS is used. I have used very less color palets as I am not a creative person :| . but yeah tailwind CSS is really good
Finally, Here is my code for which I have made a short link as well :- urlshortner-gamma-six.vercel.app/pscaleproj..
Step 5:- Deploying on vercel
- Deploying on vercel is effortless. I just logged in with your github account and select your repo to be deployed.
- But the important step here is adding env variables. Remember I am using a local port in my DATABASE_URL instead of the planetscale DATABASE_URL which I have mentioned earlier so in the vercel env variables you need to add your planetscale database URL. The steps are easy planetscale doc again comes to the rescue urlshortner-gamma-six.vercel.app/deploypscale
Your Feedback
And finally here is the link to my app- URL Shortner
Hurray !!!! It's done. From being mindless to deploying the app I really enjoyed the process. I realized Planetscale is like meeting a stranger who became your friend. At first, I thought this is a complicated DB but in the end project, it is all easy. Please free to drop any comment you want and thank you for checking my article :)))))