

Idea behind the App:
I don't remember when the last time I used cash for buying or I made a purchase with cash or went to the store to purchase an expensive item rather than ordering it online. I used to think online payments are better options to avoid bad spending habits. As we have transaction records on our phones. But recently I started realizing my online spending is rising daily. although having all the records on my phone I don't have a clear idea about my expenses. I just consider where my money went at the end of each month. In conclusion, I need to track down my expenses incurred through various online platforms through various payment modes in one place to have control over it.
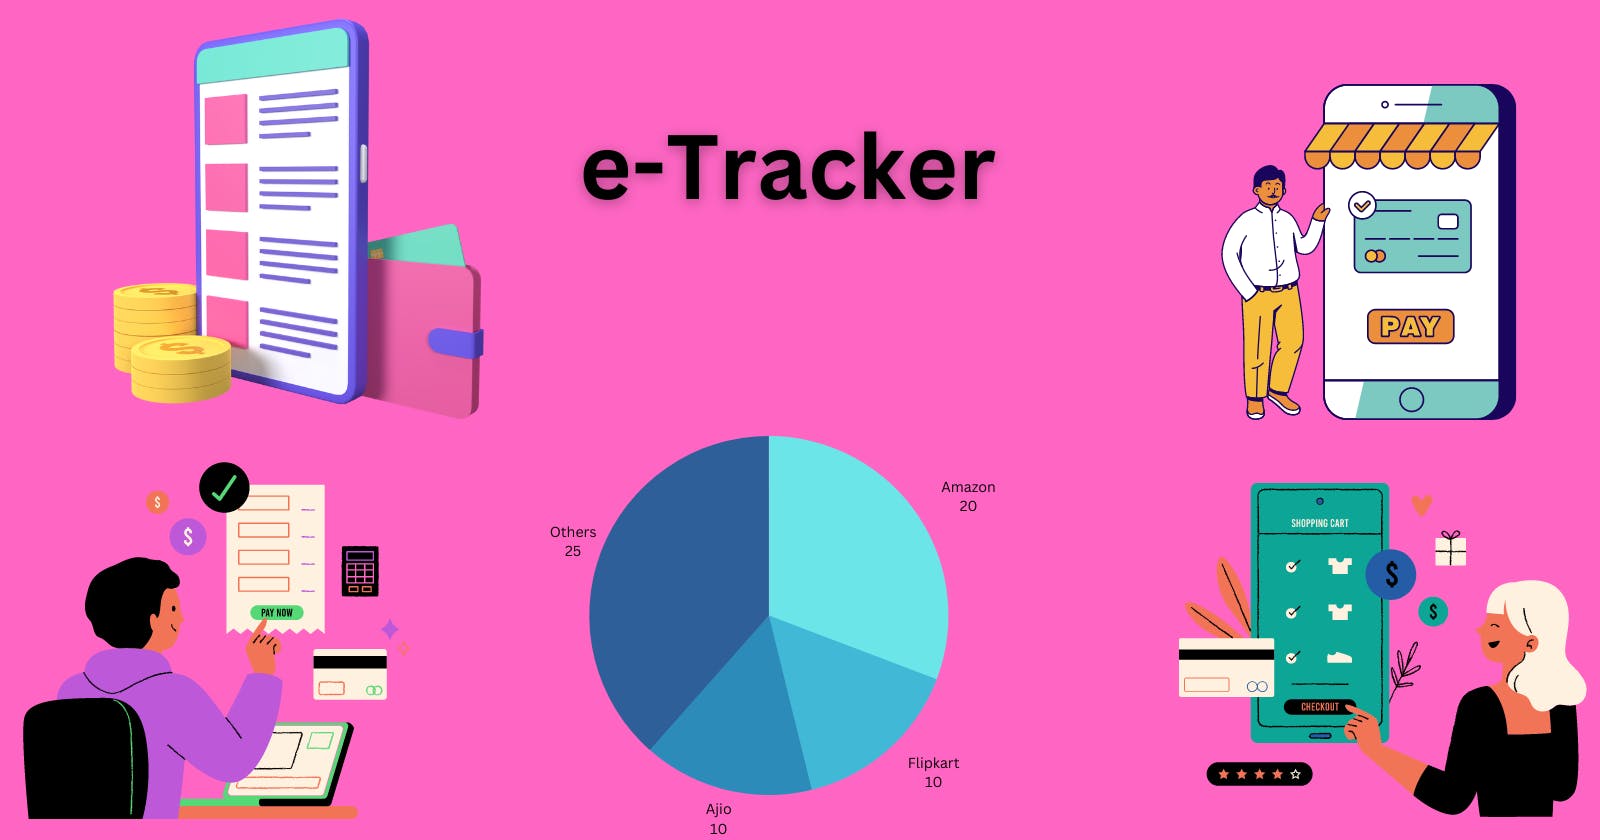
eTracker for the solution
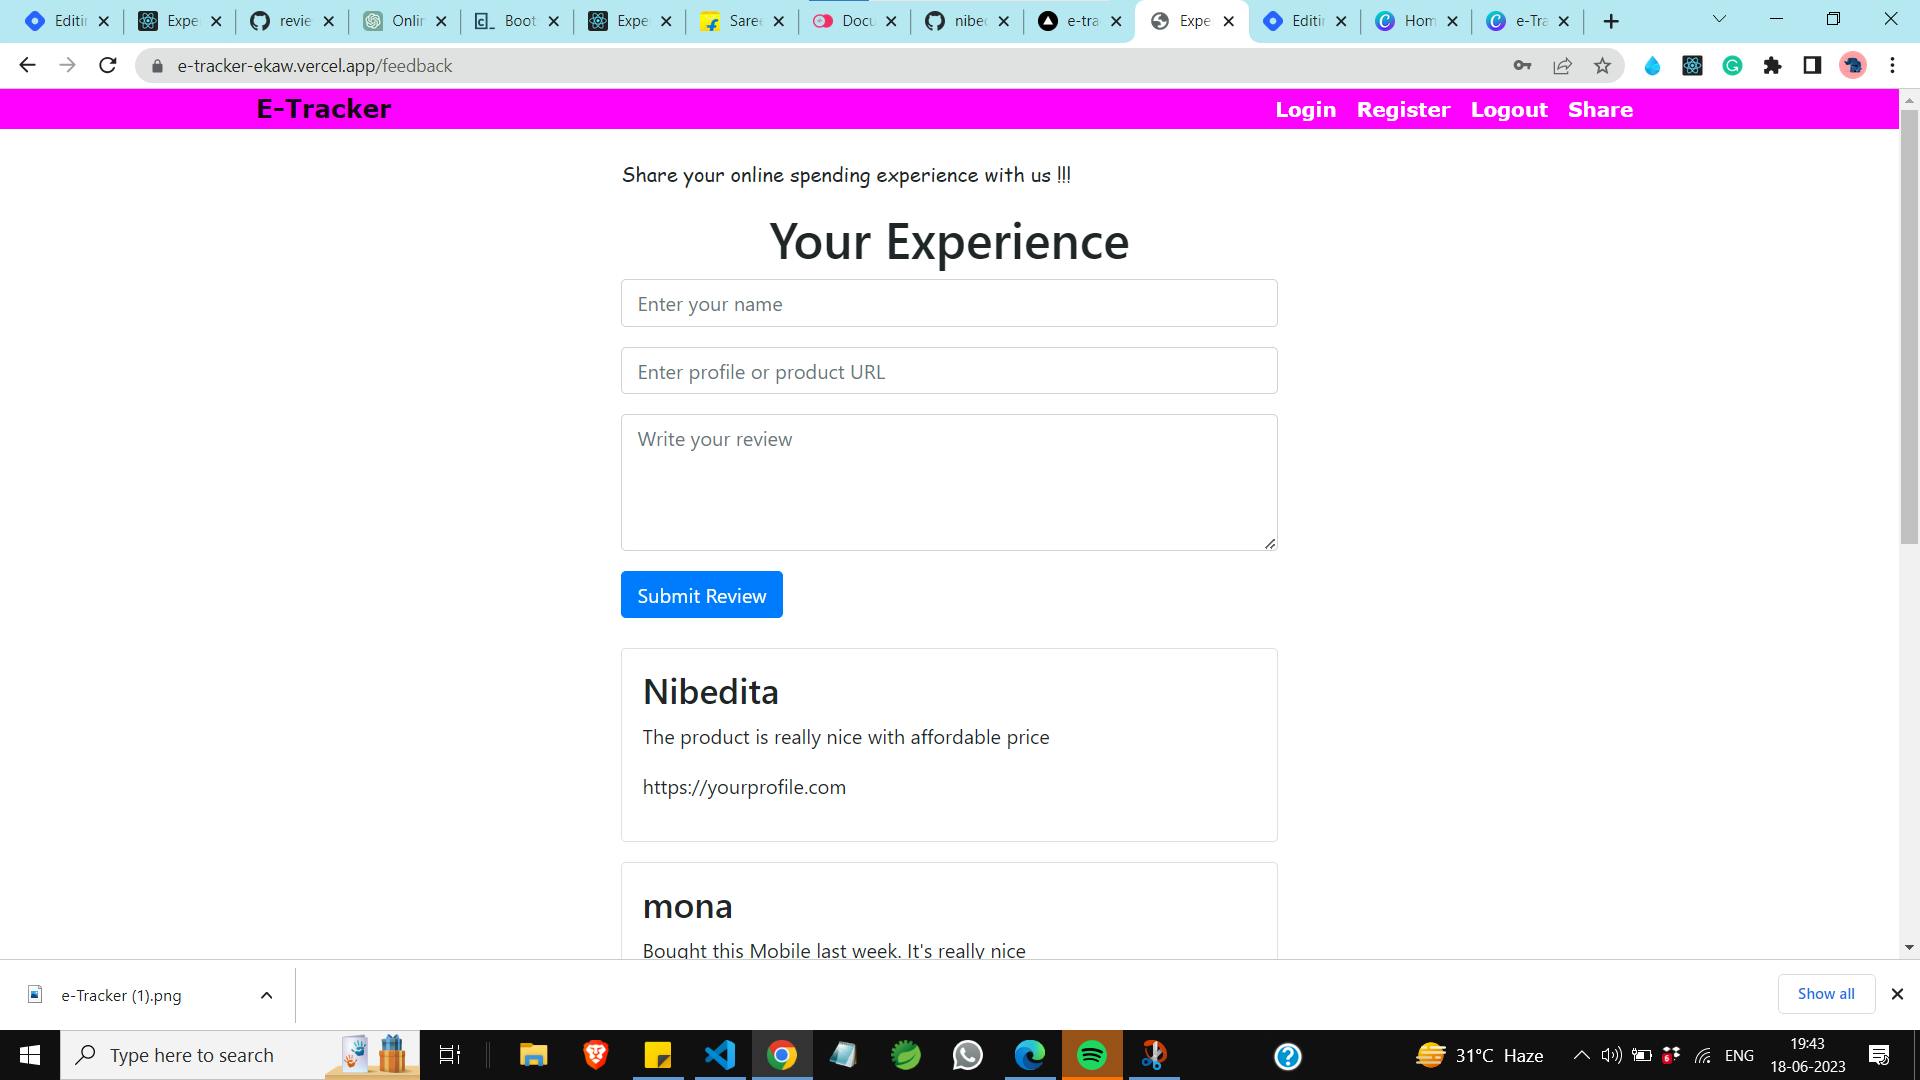
The traditional solution to the modern problem is writing down and realizing. On eTracker you can record your expenses based on the options you used and can visualize through charts for a better understanding of your online spending. Let's understand it better with the app features. Also you can share your online buying experiences with others so that we can help each other.
App Features:
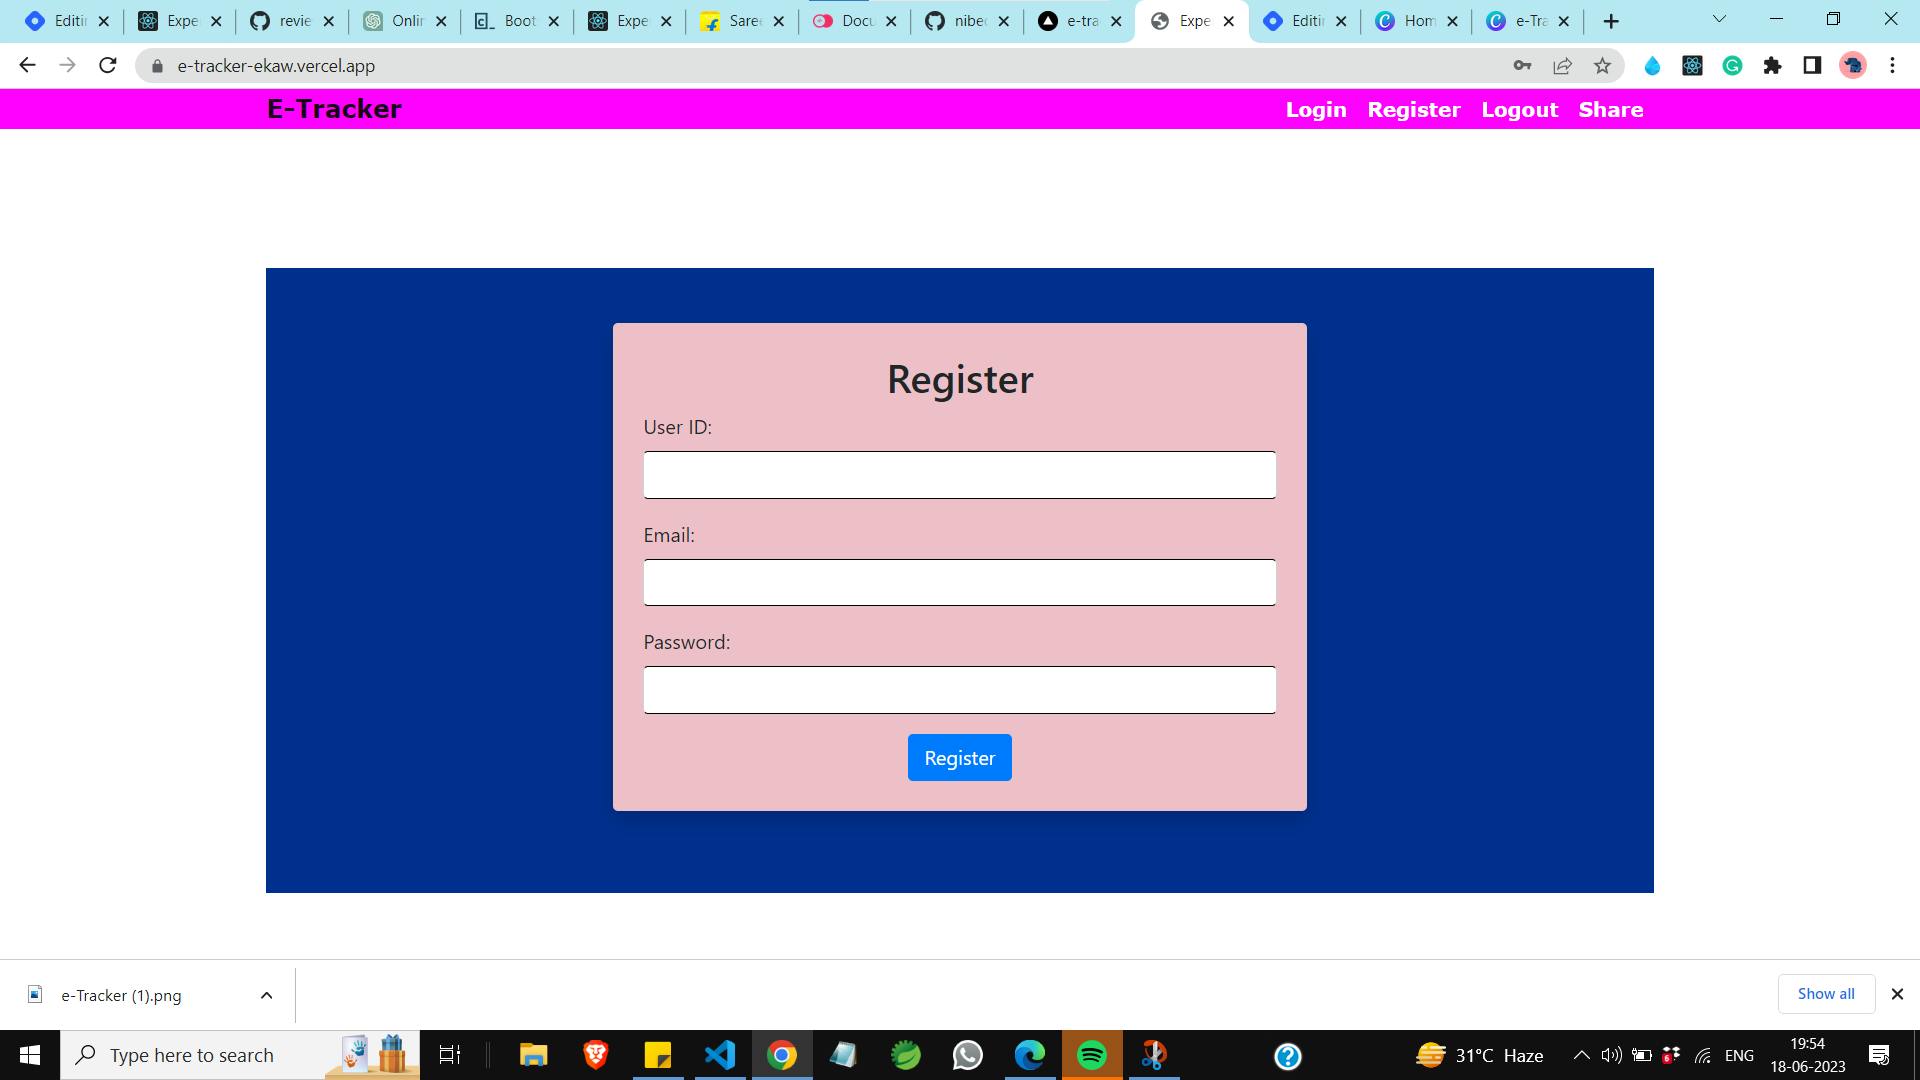
Register and Login using Email accounts
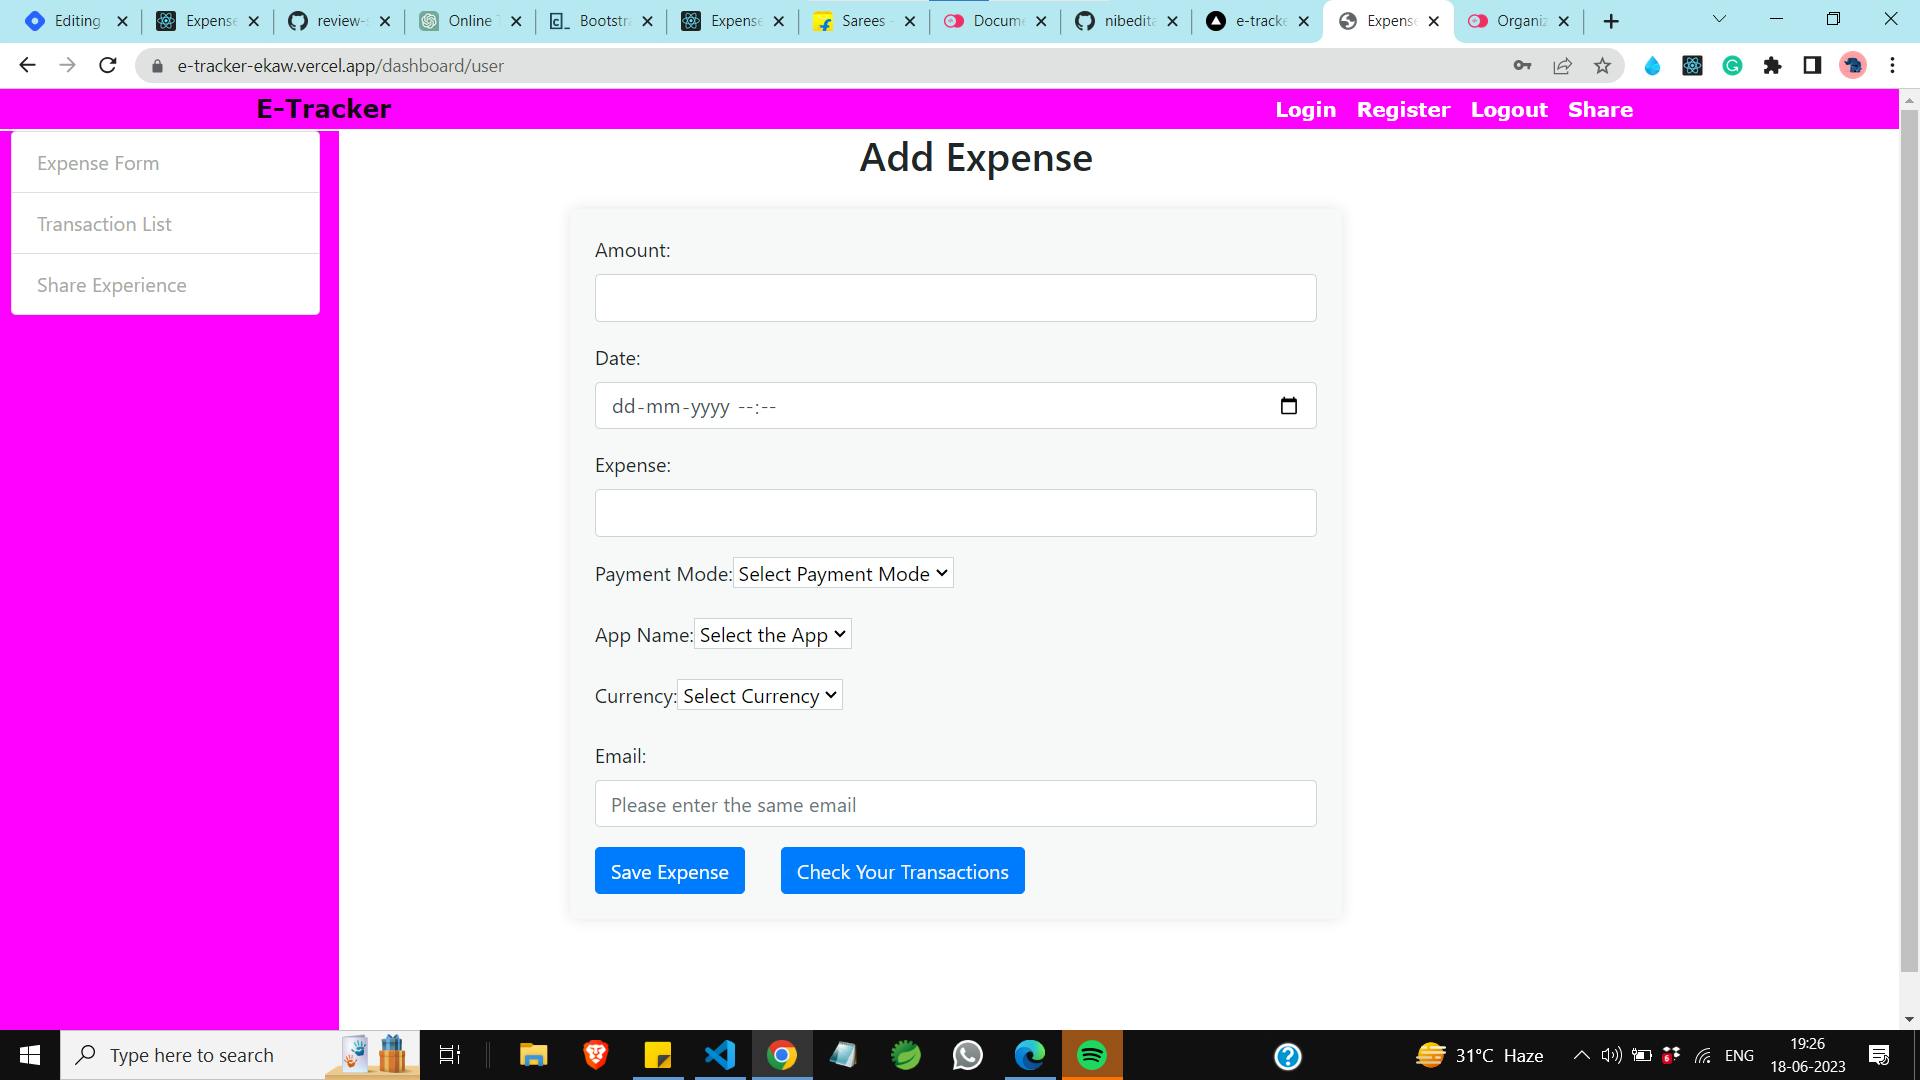
Add your expenses using filters
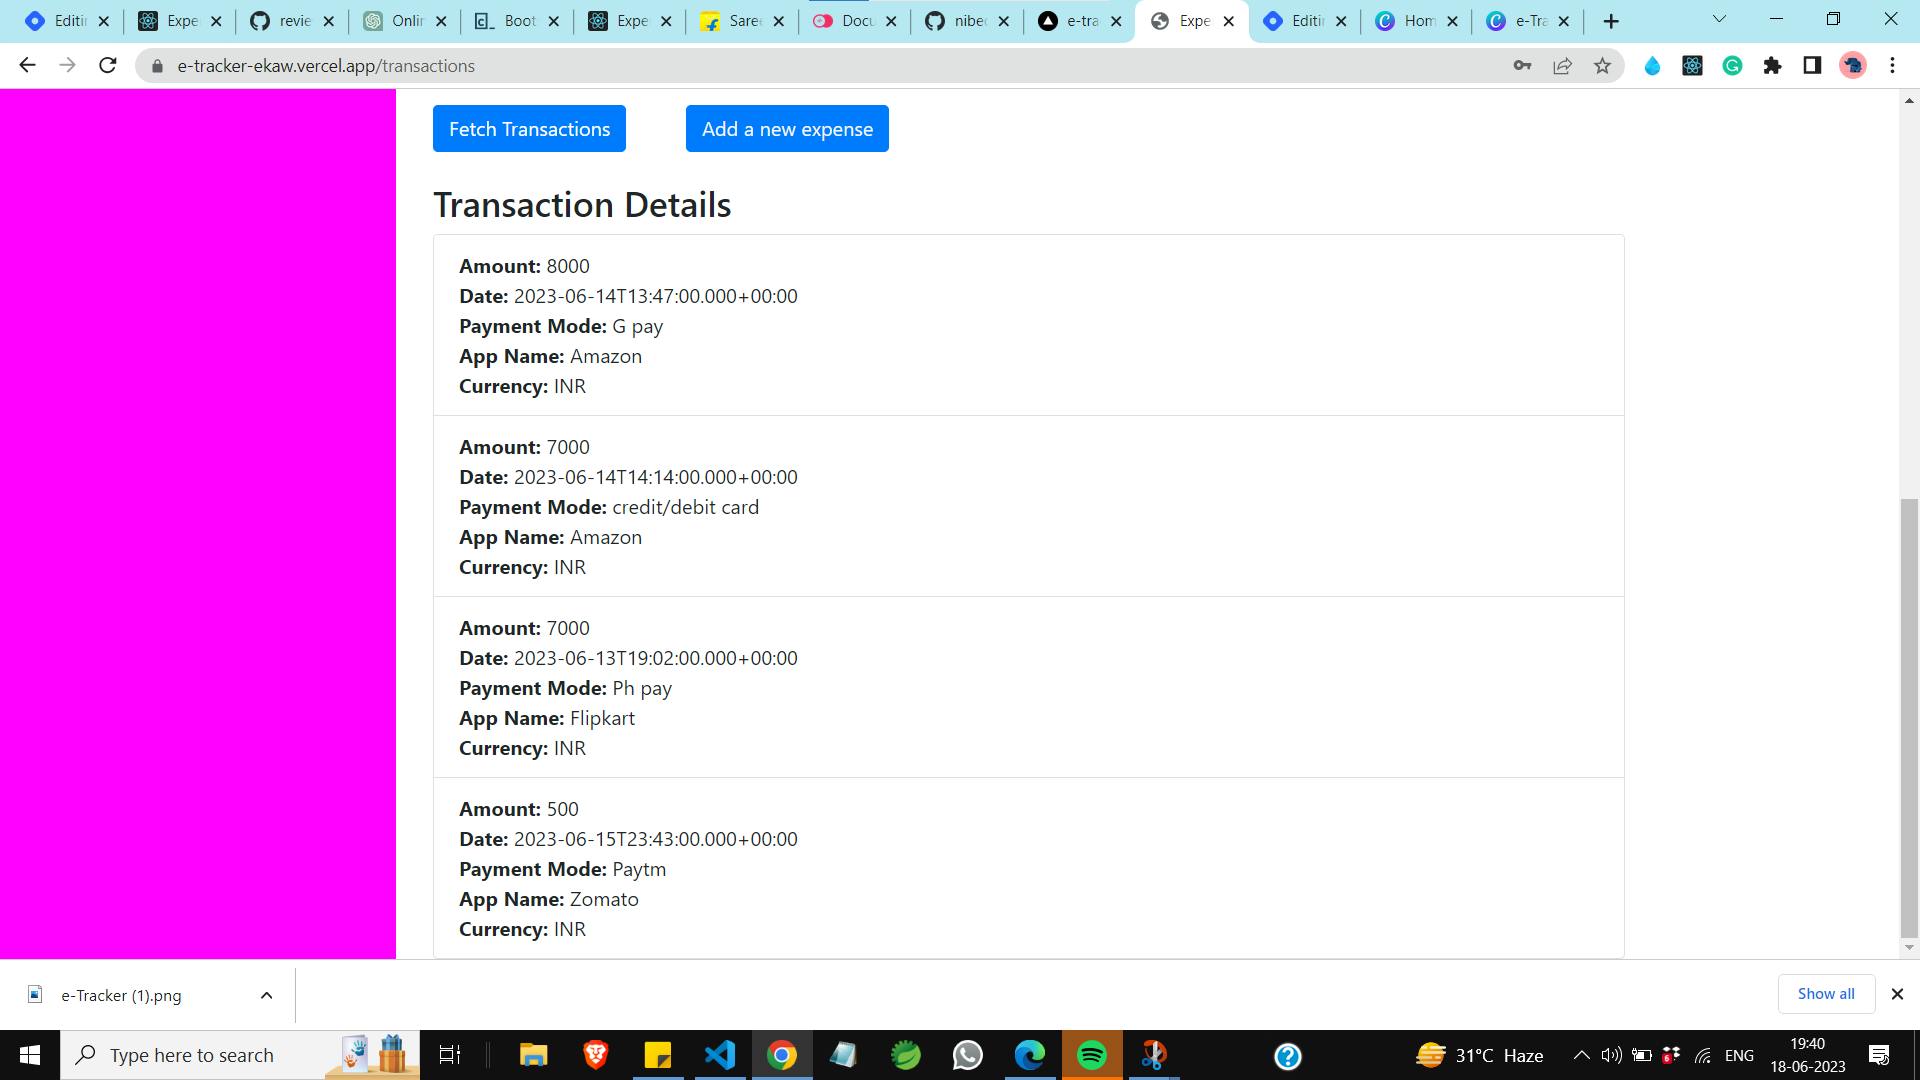
Visualize your Expenses

Track your expenses
Share your online spending experience
Technologies Used:
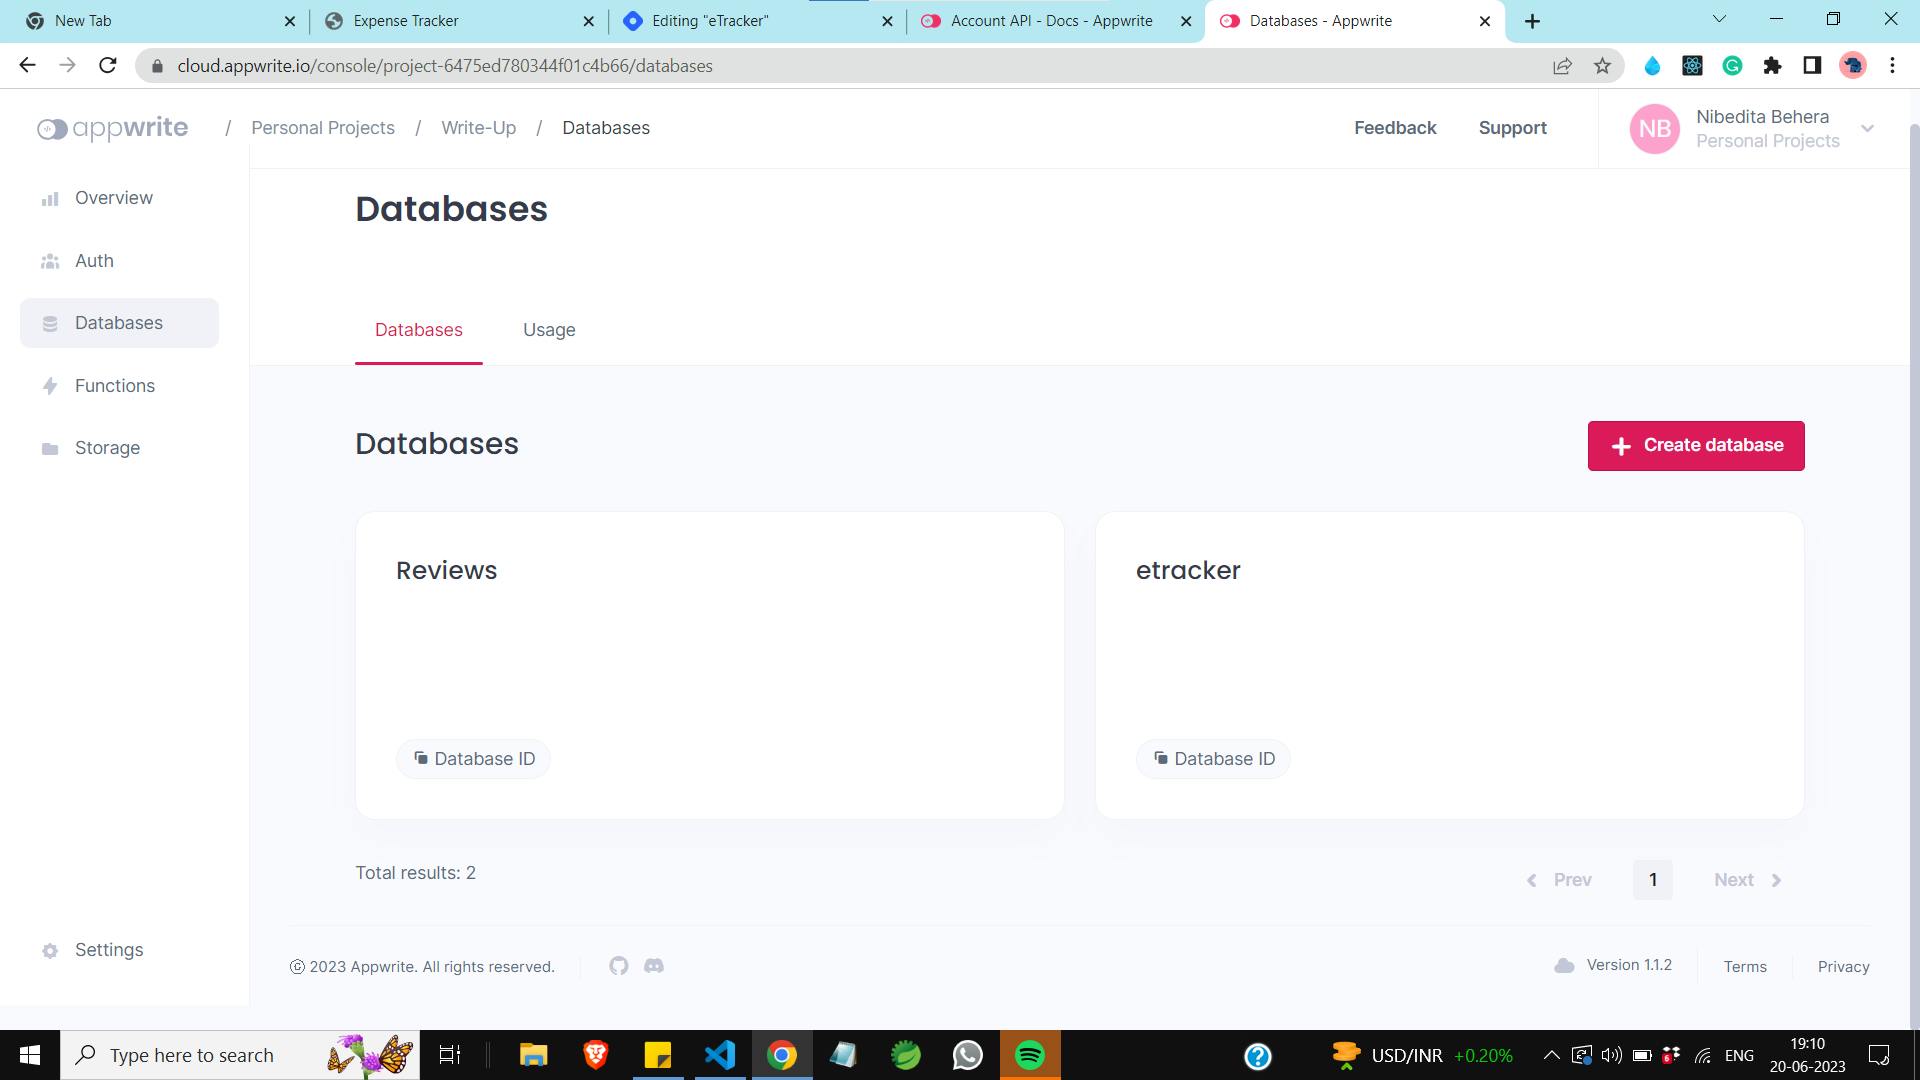
Appwrite: As the core backend infrastructure, we employed Appwrite, a powerful backend-as-a-service platform. Appwrite offers various services and APIs for managing databases, user authentication, file storage, and more.
React: We built the frontend of our application using React,
Bootstrap: To enhance the visual appeal and responsiveness of our application, we utilized Bootstrap, a CSS framework.
React Router: To enable navigation between different pages of our application, we used React Router. It allowed us to define routes and map them to different components, ensuring a smooth user experience.
nanoid: For generating unique IDs for each expense record, we utilized the nanoid library.
How Appwrite was Utilized:
Edit this textUser Registration and Authentication Using Appwrite Create:
Allow a new user to register a new account in your project. After the user registration.
   const handleRegister = async (e) => {
     e.preventDefault();
     try {
       await account.create(userId, email, password);
       setMessage('Registration successful');
       setUserId('');
       setEmail('');
       setPassword('');
     } catch (error) {
       setMessage(`Registration failed: ${error.message}`);
     }
   };
User Authentication and login using Appwrite Email Session :
Allow the user to login into their account by providing a valid email and password combination. This route will create a new session for the user.
 const response = await account.createEmailSession(user.email, user.password);
       console.log(response);
       setMessage('Login successful');
       navigate(`/dashboard/${response?.userId}`, {
         state: {
           userId: response?.$id,
           name: response?.name,
           id: response?.$id,
         },
This ensured that only authenticated users could access the expense tracking features.
Database Management: For this project I created 2 different collection under inside one single database. The first collection to store expense records and the other collection to store the user's reviews.
We used the Appwrite JavaScript SDK to interact with the database, enabling us to perform CRUD (Create, Read, Update, Delete) operations.
 //To create a transaction data
       const response = await database.createDocument(databaseId, collectionId, documentId, {
         amount: amount,date: date, expense: expense,PaymentMode: paymentMode,
         appName: appName,currency: currency,userEmail: userEmail,
       });
 // To fetch a transaction
 const fetchTransactions = async () => {
     try {
       const response = await database.listDocuments(databaseId, collectionId);

       );catch (error) {
       console.error('Error fetching transactions:', error);
       setError('Error fetching transactions');
     }
API Integration: Appwrite's API capabilities allowed us to interact with external services for currency conversion, transaction categorization, and more. We leveraged these APIs to enhance the functionality of our expense tracking application.
Hosting and Deployment
Appwrite & Vercel:
It's very easy to deploy an app with appwrite backend. I have used vercel to deploy the application. Provided appwrite endpoint and project id as environment variables and hurray app was deployed.
Links:
App link
Repo link:
Conclusion:
With this application, users can conveniently track their online expenses, categorize transactions, and gain valuable insights into their spending patterns. The integration of Appwrite ensured seamless data management and authentication, enabling a reliable and user-friendly experience.
Building an online expense tracking application with Appwrite demonstrates how powerful backend-as-a-service platforms can simplify the development process and accelerate the creation of feature-rich applications.
FAQ &Future improvements:
Is the application responsive?
Ans- The application is responsive but for better visualization of charts big screen is recommended.
Does the application ask for personal financial data like credit or debit cards?
Ans- No.
Does the application track application fetch transactions from your device?
Ans- The application doesn't fetch the transactions you need to enter manually. However, this can be added as a future improvement.
Improvements:
Appwrite provides many functionalities with user authentication like reset passwords, phone sessions and magic URL sessions that will be added.
As I already mentioned the application doesn't fetch the transactions you need to enter manually. However, this can be added as a future improvement.
There are many things to update to make it more beautiful and to add more functionality I will progress on it. Feel free to comment, happy to get feedback!!!!